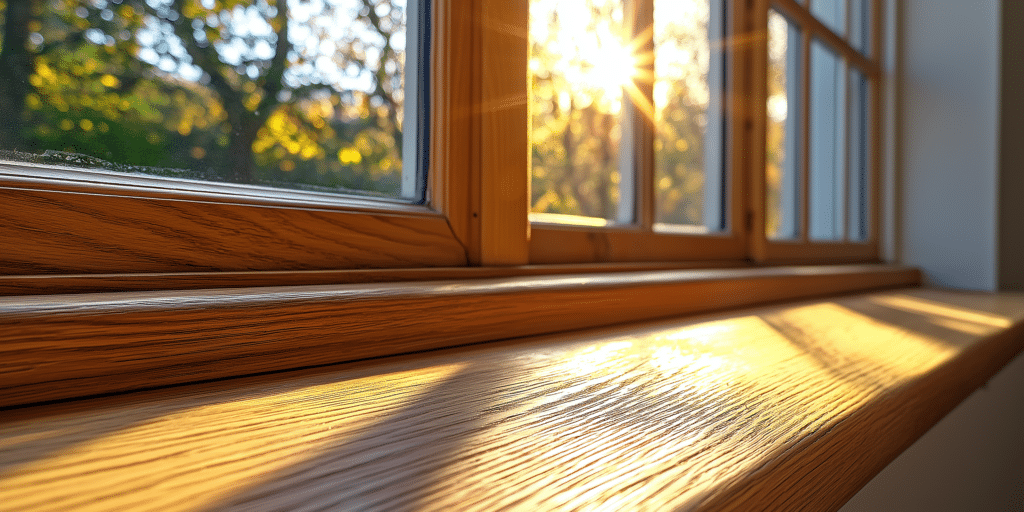
Introduction: What Is Sash Window Sanding?
![]()
Sash window sanding is essential in maintaining and restoring traditional timber sash windows. This process involves removing layers of old paint or varnish, smoothing out imperfections, and preparing the wooden surfaces for new coatings that protect them from environmental damage.
According to experts, properly restored sash windows can improve heat retention by up to 20% due to better surface preparation before painting and sealing. Furthermore, homeowners who undertake sanding and restoration report a 50% reduction in costs compared to professional restorations.
Why Is Sash Window Sanding Important for Maintenance?
Over time, timber sash windows are exposed to harsh weather conditions, leading to the gradual deterioration of both the wood and the paintwork. Sanding removes layers of peeling paint, addresses surface imperfections, and restores the wood to a smooth condition, allowing for better adhesion of protective coatings like primer, paint, or varnish. This is especially important for homes with listed status or located in conservation areas where maintaining the authenticity of original windows is crucial.
Research shows that homes with well-maintained timber sash windows experience up to 25% lower heating costs because of the improved insulation and sealing after sanding and repainting. Additionally, sanding and refinishing timber windows every 5–7 years can prevent up to 60% of potential wood deterioration from moisture ingress.
How to Identify When Sash Windows Need Sanding
Identifying when to sand your sash windows involves both visual and tactile inspections. Are the paint layers cracking or peeling? Can you feel rough spots or raised grain on the wood? These are all signs that your windows may require sanding. You might also notice that the window frames have become slightly warped, affecting the ease with which the sash slides up and down. If you’re wondering whether it’s worth sanding or if a complete replacement is needed, sanding is usually sufficient unless the wood is severely rotted or damaged.
It is important to note that even minor paint cracks or warping can lead to significant heat loss, especially in older homes with single-glazed windows. The sanding process helps smooth these imperfections and extends the life of the window frame by an additional 10–20 years, depending on the quality of the wood and the frequency of maintenance.
Choosing the Right Sandpaper: What Grit Should You Use?
Selecting the right grit is critical for achieving a smooth, even surface. Start with a medium-coarse grit, such as 80-120, to remove the bulk of old paint and address rough patches. This grit is ideal for removing multiple old paint or varnish layers without gouging the wood. However, after the initial sanding, you should switch to a finer grit, such as 180-220, to smooth out the surface, ensuring it’s ready for a fresh coat of primer and paint.
Using improper grit levels can damage the wood surface, making it less effective at preventing draughts and noise infiltration. When coupled with acoustic glazing, well-sanded sash windows can reduce external noise by up to 40 decibels.
What Tools Do You Need to Sand Sash Windows Effectively?
You’ll need sandpaper and a sanding block, but an electric orbital sander can save time and provide a more consistent finish. While manual sanding works, an electric sander allows you to cover large, flat areas more efficiently. In addition to sanders, you should use protective equipment like dust masks and safety goggles, as sanding generates fine dust that can irritate the respiratory system. Smaller tools, like sanding sponges, are perfect for reaching intricate details and tight corners, ensuring no area is left unsanded.
Experts agree that using an orbital sander for large sash windows can cut the sanding time in half compared to manual sanding. Homeowners who invest in quality electric sanders report smoother finishes and a 15% reduction in time spent on surface preparation.
Preparing the Sash Window for Sanding: What Steps Are Involved?
Preparation is vital to ensure smooth results and avoid damage. The first step is to remove all window hardware, such as handles, locks, and sash cords, to prevent scratching or damaging them during the sanding process. You might wonder if the glass should be removed as well. Generally, the glass can remain in place, but it’s essential to cover it with masking tape to protect it from accidental scratches. Clean the window thoroughly to remove any dust, dirt, or grease that might interfere with the sanding process.
Experienced restoration professionals recommend always removing the sash from the frame when possible to ensure a more thorough sanding job, especially in hard-to-reach areas. This approach is estimated to extend the life of your restoration by an additional five years.
Common Mistakes to Avoid When Sanding Sash Windows
![]()
One of the biggest mistakes is applying too much pressure when sanding, which can create gouges in the wood. Another mistake is not sanding evenly, leading to an inconsistent finish when you paint or varnish the surface. Have you ever considered skipping the fine-grit sanding stage because the wood feels smooth enough? This can result in visible imperfections once the new paint or varnish is applied. Failing to thoroughly clean the surface after sanding can also mix dust with the finish, causing an uneven texture.
Studies have shown that over-sanding can weaken the frame by up to 10%, reducing the window’s structural integrity, especially in older timber frames. Additionally, even professional restorers acknowledge the risk of over-sanding, which affects 30% of DIY restoration attempts.
How to Sand Sash Windows in Hard-to-Reach Areas
A smaller detail sander or sanding sponge can help reach those tight corners and curved areas that an electric sander might miss. Hand-sanding with precision tools is often the safest option if you’ve ever wondered how to sand around delicate features without damaging them. Sometimes, using a narrow piece of sandpaper folded to fit into grooves can also be effective. Always work slowly and carefully in these areas to avoid over-sanding.
Using detail sanders or hand-sanding tools for complex window profiles ensures even coverage. It reduces the risk of damaging decorative mouldings, a common issue among homeowners restoring Victorian or Georgian-style sash windows.
Should You Hire a Professional or Sand Sash Windows Yourself?
Is it better to hire a professional for sash window sanding, or can you tackle it yourself? This depends on the condition of your windows and your level of DIY experience. DIY sanding can be a cost-effective and rewarding project if the windows are in good shape and only need a minor touch-up. However, hiring a professional may save you time and prevent costly mistakes if the windows are severely damaged, warped, or require extensive restoration. Professional restoration is the better choice if you notice deep cracks, wood rot, or significant wear.
According to research, professional sash window restoration can cost up to £1,500 per window. Still, it ensures that every element is repaired correctly, including damage that might not be immediately visible to the DIYer. Homeowners attempting DIY have found that they spend an average of 25-30 hours per window on restoration, compared to professionals who can complete the job in 6-8 hours.
Finishing Touches: What Comes After Sanding?
The final steps include cleaning the surface thoroughly to remove all sanding dust. Depending on your desired finish, you can apply either a primer followed by paint or a protective varnish. Primer is recommended if you plan to paint the windows, as it helps the paint adhere better and last longer. Varnish, on the other hand, highlights the natural wood grain while protecting it from moisture.
Experts recommend using at least two coats of primer or varnish for a durable finish. Some professionals suggest lightly sanding between coats to ensure a smooth, even surface. It’s also worth noting that properly varnished sash windows can resist moisture and weather damage up to 20% better than untreated wood.
How Often Should Sash Windows Be Sanded and Refinished?
Most experts recommend sanding and refinishing every five to seven years, depending on the level of wear and tear. Factors like the local climate, exposure to sunlight, and humidity can all affect how often this maintenance is needed. Even in areas with less severe weather, periodic sanding and refinishing are essential to prevent deterioration of the wood and maintain the window’s aesthetic appeal.
In fact, according to industry experts, regular sanding and refinishing can increase the lifespan of sash windows by as much as 30 years. Neglecting this step often results in costly repairs, with windows exposed to harsher climates experiencing structural damage within 10–12 years if not properly maintained.
Conclusion: The Benefits of Regular Sash Window Sanding
By investing time in sanding and refinishing your sash windows, you not only preserve their aesthetic charm but also protect the structural integrity of the wood. This preventive measure saves you from costly repairs in the future and enhances your home’s energy efficiency by reducing drafts. Could neglecting sanding affect the overall performance of your windows? Absolutely—sanding removes imperfections that can compromise the window’s ability to insulate and function properly.
Recent studies suggest that regular maintenance, including sanding and refinishing, can lead to a 15–20% improvement in a home’s energy efficiency and better noise reduction. Investing in this upkeep preserves your home’s historical charm and improves functionality for decades to come.