Introduction to Sash Window Trimming
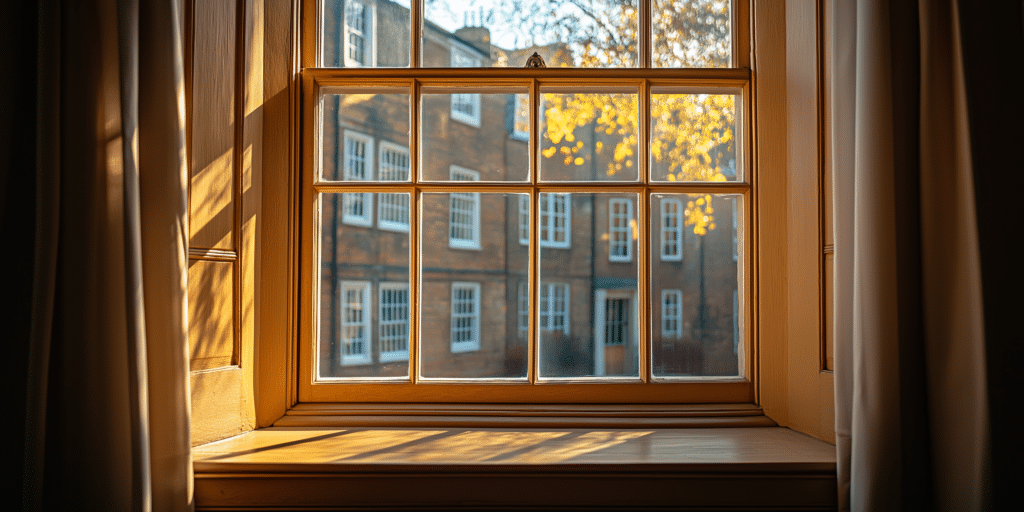
Trimming sash windows, a precise process balancing both aesthetic and functional needs is essential for preserving the window’s historical character and structural durability. Sash trimming is cutting, shaping, and installing trim materials, commonly wood, uPVC, or aluminium, around the window’s edges for a snug fit, enhancing insulation and weatherproofing.
Regular trimming has been shown to reduce energy bills by up to 30% in heritage homes where windows are a primary source of heat loss. By proactively addressing these issues, trimming sash windows can add years to their lifespan, reduce long-term maintenance costs, and preserve their vintage charm.
Materials Commonly Used in Sash Window Trimming
Selecting appropriate materials for sash window trimming is fundamental to the durability and appearance of the installation. Hardwoods like oak and mahogany are traditional choices due to their durability, aesthetic appeal, and compatibility with heritage homes, often treated to resist moisture, pests, and warping. In modern builds, uPVC and composite materials offer resilience and require low maintenance.
In damp or cold climates, aluminium and treated wood outperform untreated options by up to 40% in reducing temperature fluctuations and moisture retention. Hardwoods maintain authenticity for period properties, while uPVC is popular in new builds for its longevity and insulating properties. Each material impacts both the trim’s performance and appearance, helping sash windows maintain functionality and add aesthetic value.
How to Prepare for Sash Window Trimming
Pertinent preparation is key to achieving precise and clean results. Begin by gathering essential tools such as a fine-tooth saw, measuring tape, sealant, sandpaper, and an adhesive suitable for the trim material. A tidy, well-organised area reduces mistakes, improving efficiency.
Accurate sash measurements ensure a tight fit, critical for optimising energy efficiency and minimising air leakage. Professionals emphasise that without exact measurements, you may encounter gaps or misalignment that can affect the trim’s weatherproofing. Laying out all tools and materials in advance is especially beneficial for first-time DIYers honing their window restoration and weatherproofing skills.
Step-by-Step DIY Guide to Sash Window Trimming
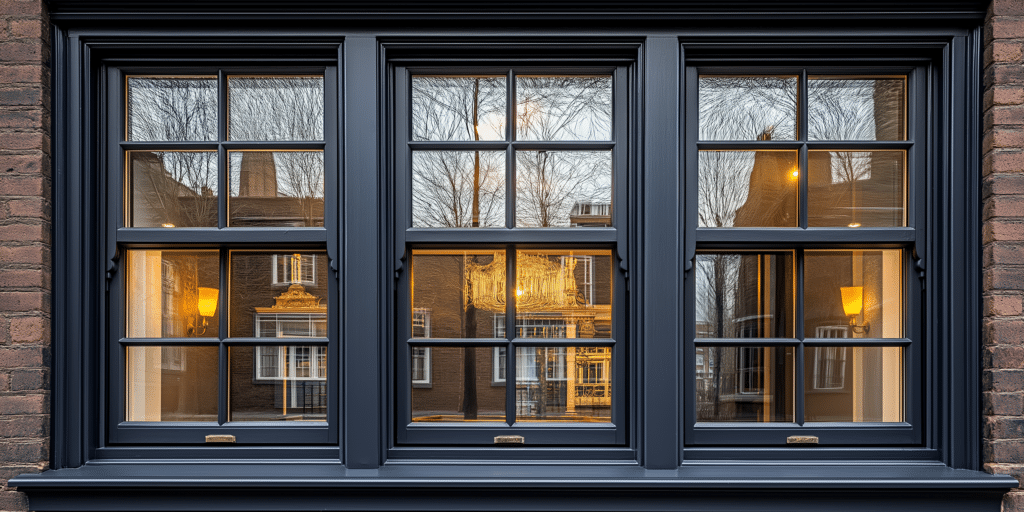
Begin by measuring each sash edge precisely. Use a tape measure to capture the exact dimensions for the trim. Next, use a fine-tooth saw to cut the trim, ensuring the ends align precisely. High-quality saws and sanders, particularly with delicate wooden trims, are recommended for a precise fit.
Over-trimming can lead to gaps and weaken the window’s seal. Always test-fit each piece before securing it with adhesive or nails and sand wood trims to prevent splinters for a polished finish. It’s essential: a well-secured trim stabilises the window, reinforcing its resistance to external elements, protecting against moisture ingress, and enhancing durability.
When to Call in a Professional for Sash Window Trimming
Extensive wood damage, visible gaps, or continuous drafts may signal a need for a specialist. Look for certifications in heritage window restoration, especially for period property maintenance. Sash window experts highlight that professional installation often prolongs the trim’s durability and meets weatherproofing standards.
Professionals possess specialised tools and experience that can prevent costly mistakes. According to restoration specialists, professional services reduce the likelihood of repairs by nearly 50%, providing value that often outweighs the initial cost.
Routine Maintenance Tips for Longevity
Regular maintenance is essential to extend the life of sash window trims. Basic tasks such as cleaning, sealing, and repainting can protect against moisture, pests, and daily wear. Identifying minor issues like cracking or warping early prevents more significant problems later.
Twice a year, ideally in spring and autumn, preparing trims for seasonal changes is recommended. Wood trims benefit from sealing and occasional varnishing, while uPVC requires only a quick wipe-down to retain its fresh appearance. Regular upkeep can extend the lifespan of sash window trims by up to 10 years.
Addressing Common Trimming Issues

Common issues like gaps, warping, or misalignment can reduce both functionality and aesthetic value. Often, poor measurements or low-quality materials are to blame. Silicone caulk or filler can bridge minor gaps, restoring the window’s weatherproofing.
Sometimes, sanding and refinishing high-quality wood trims can resolve minor warping. DIY solutions are often sufficient for small issues, but more extensive damage may require professional expertise to ensure structural integrity.
Expert Tips for High-Quality Trimming
Experts offer several tips to ensure sash window trims look beautiful and last. Precision in measurements, careful material choice, and quality adhesives contribute to durability. Premium-grade wood and UV-resistant uPVC deliver durable, aesthetically pleasing finishes.
For period properties, matching trim styles to the sash window’s design, such as Georgian or Victorian, maintains authenticity. Experts suggest that professional trimming generally lasts longer due to advanced techniques and specialised tools.
Comparing DIY and Professional Trimming Results
A well-executed DIY trim can look good, but professional work usually achieves higher standards. Professional trims are often more resilient thanks to specialised techniques and materials. How does the cost compare? While DIY saves on labour, professional services may prevent future repair costs. How should you choose? Consider skill level, budget, and the window’s value: DIY is ideal for hands-on homeowners, while professional trimming is best for lasting results.
Cost Breakdown for Sash Window Trimming

DIY ranges from £30–£60, while professionals may charge £200 to £500 based on material and region. Tools like saws and sanders can add to expenses.
For those seeking longevity, professional work can offer a more reliable investment. Compare upfront costs against future savings on maintenance and repairs.
Conclusion: Choosing the Right Approach for Sash Window Trimming
In conclusion, sash window trimming is vital to maintaining both character and durability. This depends on budget, skill level, and goals. Gather your tools and materials or contact an experienced sash window professional for assistance. Enhanced insulation, property value, and timeless charm.
Whether you opt for your home’s practical and aesthetic appeal, well-maintained sash window trims improve insulation, enhance property value, and add timeless charm. Whether for DIY or professional trimming, quality sash window trims significantly create a secure, stylish, and sustainable living space.
