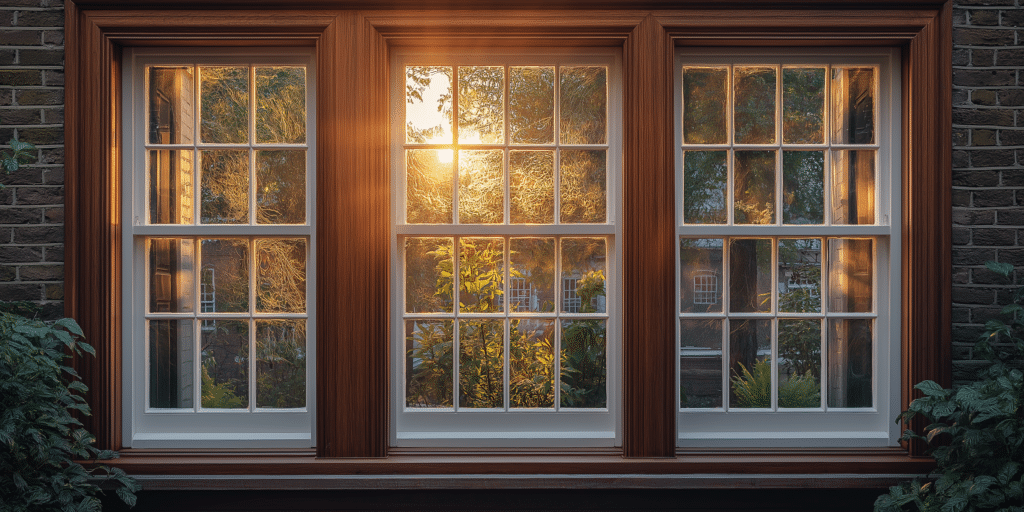
Introduction to Sash Window Painting

Sash windows are a hallmark of traditional architecture, known for their timeless charm and classic elegance. What makes them so special? Their unique structure, featuring sliding sashes and intricate detailing, requires careful attention, especially in painting. Unlike modern windows, sash windows involve multiple moving parts—so how do you ensure the frame and the sliding sashes are properly treated? Proper painting isn’t just about aesthetics; it directly impacts the window’s functionality and durability.
Neglecting to paint your sash windows correctly could lead to sticking sashes, moisture damage, and compromised insulation—issues no homeowner wants to deal with. Repainting your sash windows can extend their lifespan and improve insulation performance by up to 30%, helping save on energy bills in the long run.
Importance of Surface Preparation
Proper surface preparation is the foundation of a durable and attractive paint job—but why is it so crucial? With their multiple layers and intricate joints, sash windows require a clean, smooth surface to ensure the paint adheres correctly. You’ll need a heat gun or chemical stripper to remove old paint. Professionals recommend using gentle methods such as steam stripping to preserve the original woodwork.
After removing the paint, sanding the surface is essential. Sanding between coats is just as important as the paint itself, ensuring smoothness and better adherence for the next layer of paint. Additionally, high-grade sandpaper and an electric sander can reduce the time required for surface preparation, ensuring a smoother finish. Experts estimate that over 70% of painting issues stem from improper or rushed preparation.
Choosing the Right Paint for Sash Windows
Choosing the right paint for sash windows can seem overwhelming—what’s the best option? Water-based acrylic paints are a top choice because they are both environmentally friendly and durable. However, professionals suggest using oil-based paints for sash windows due to their superior longevity and moisture resistance, particularly in areas with harsh weather conditions. Oil-based paints provide a glossy, durable finish and protect wood better from the elements, especially in coastal areas.
Experts emphasize that while water-based paints dry faster and are easier to clean, they may not offer the same durability as oil-based paints, particularly for exterior windows exposed to harsh climates. Matching the paint type to your home’s environment is critical for long-term success.
Painting Techniques for Smooth, Even Coats

The painting technique you use can make or break the final result. A common concern is, “How do I avoid unsightly brush marks and streaks?” The answer lies in using long, even strokes and maintaining a “wet edge” to prevent overlapping dry and wet paint. Professionals recommend painting sash windows in stages, ensuring the sashes remain operable throughout the process. This method prevents the windows from being painted shut.
Sash window experts highlight the importance of applying multiple thin coats rather than one thick coat, as thin coats reduce the risk of uneven drying or brush marks. Two coats of primer and two topcoats are recommended for optimal coverage. Professional painters often use high-quality angled brushes or spray paint tools to access tight corners and intricate sash window designs.
Drying Time and Curing Process
For water-based paints, a drying time of at least four hours is recommended before applying a second coat. Oil-based paints require at least 24 hours between coats. But curing times can take several days. Curing is especially important for sash windows because improperly cured paint can stick to moving parts, affecting the window’s operability.
Environmental factors, like humidity and temperature, can impact drying and curing times. Working in a dry, moderately warm environment with low humidity is essential to ensure a smooth curing process. Professionals recommend dehumidifiers or heaters to control moisture levels in humid climates.
Sealing and Weatherproofing for Longevity
Sealing and weatherproofing are key to extending the life of your paint job. A high-quality, weatherproof sealant around the joints and edges prevents water ingress, ensuring your windows withstand the elements.
Good Homes Magazine emphasizes the importance of sealing windows properly to avoid long-term damage. They recommend resealing sash windows every 2-3 years, depending on the climate and exposure. Particular attention should be paid to areas prone to moisture buildup, such as the lower sash rails and meeting points.
Maintaining and Caring for Painted Sash Windows
Routine maintenance is essential. Cleaning the windows with a mild detergent every few months will prevent dirt and grime buildup. Sash windows should be inspected yearly for signs of damage or wear, such as peeling or cracking paint, which can be early indicators of more significant underlying issues.
Professionals estimate that a well-maintained sash window paint job can last 5 to 8 years before requiring a touch-up or complete repaint. This longevity depends heavily on regular cleaning and ensuring the windows are free from condensation or excessive moisture exposure.
Common Pitfalls to Avoid When Painting Sash Windows
One of the biggest pitfalls is skipping proper surface preparation, leading to poor paint adhesion. Another frequent issue is using the wrong type of paint. Experts say, “Using paints not designed for exterior wood can result in early failure, often within a couple of years.” It’s essential to select weather-resistant paints tailored for sash windows.
Another common mistake is painting over moving parts, which can cause the sashes to stick. To avoid this, professionals recommend painting sash windows in stages, ensuring the painted areas are completely dry before closing the window. Skipping primer or using an inadequate sealant can also lead to premature paint failure.
Restoring and Repainting Old Sash Windows
Start by carefully removing any stubborn old paint with a heat gun or chemical stripper—this avoids the risk of gouging the wood. A common question is, “What steps are involved in repainting old sash windows?” The process involves sanding down rough areas, repairing any damage, applying wood filler if necessary, and priming the surface before repainting.
Historic England says, “Preserving the original window components is essential to maintaining the architectural integrity of heritage buildings.” Using historically accurate paints and materials ensures that restoration efforts respect the original design while upgrading durability for modern climates.
Professional vs. DIY Sash Window Painting

Deciding between a DIY approach and hiring a professional can be difficult—when should you consider professional help? Professionals offer the expertise and tools needed for a perfect finish for large or complex projects, or when historical accuracy is crucial. Professional painters often use spray tools or specialty brushes that ensure even coverage across intricate window designs.
The savings can be significant on the DIY front, but the risks are higher if you’re unfamiliar with sash window mechanics. DIY enthusiasts often make the mistake of rushing through surface preparation or failing to reseal windows, leading to early paint failure. Professional services, though more expensive, often come with warranties and the guarantee of a longer-lasting finish.
Final Thoughts on Sash Window Painting
Properly painting and maintaining sash windows can significantly extend their lifespan and preserve the value of your home. According to the Society for the Protection of Ancient Buildings (SPAB), well-maintained sash windows can last for over a century, retaining their structural integrity and aesthetic appeal. The key is in the details: starting with a clean surface, using weather-resistant paint, and applying a protective sealant will ensure your windows are beautiful and functional for decades.
Sash windows are more than just a functional element of a home; they are a piece of its history. The effort put into restoring and maintaining them is well worth it, both in terms of aesthetics and long-term value.